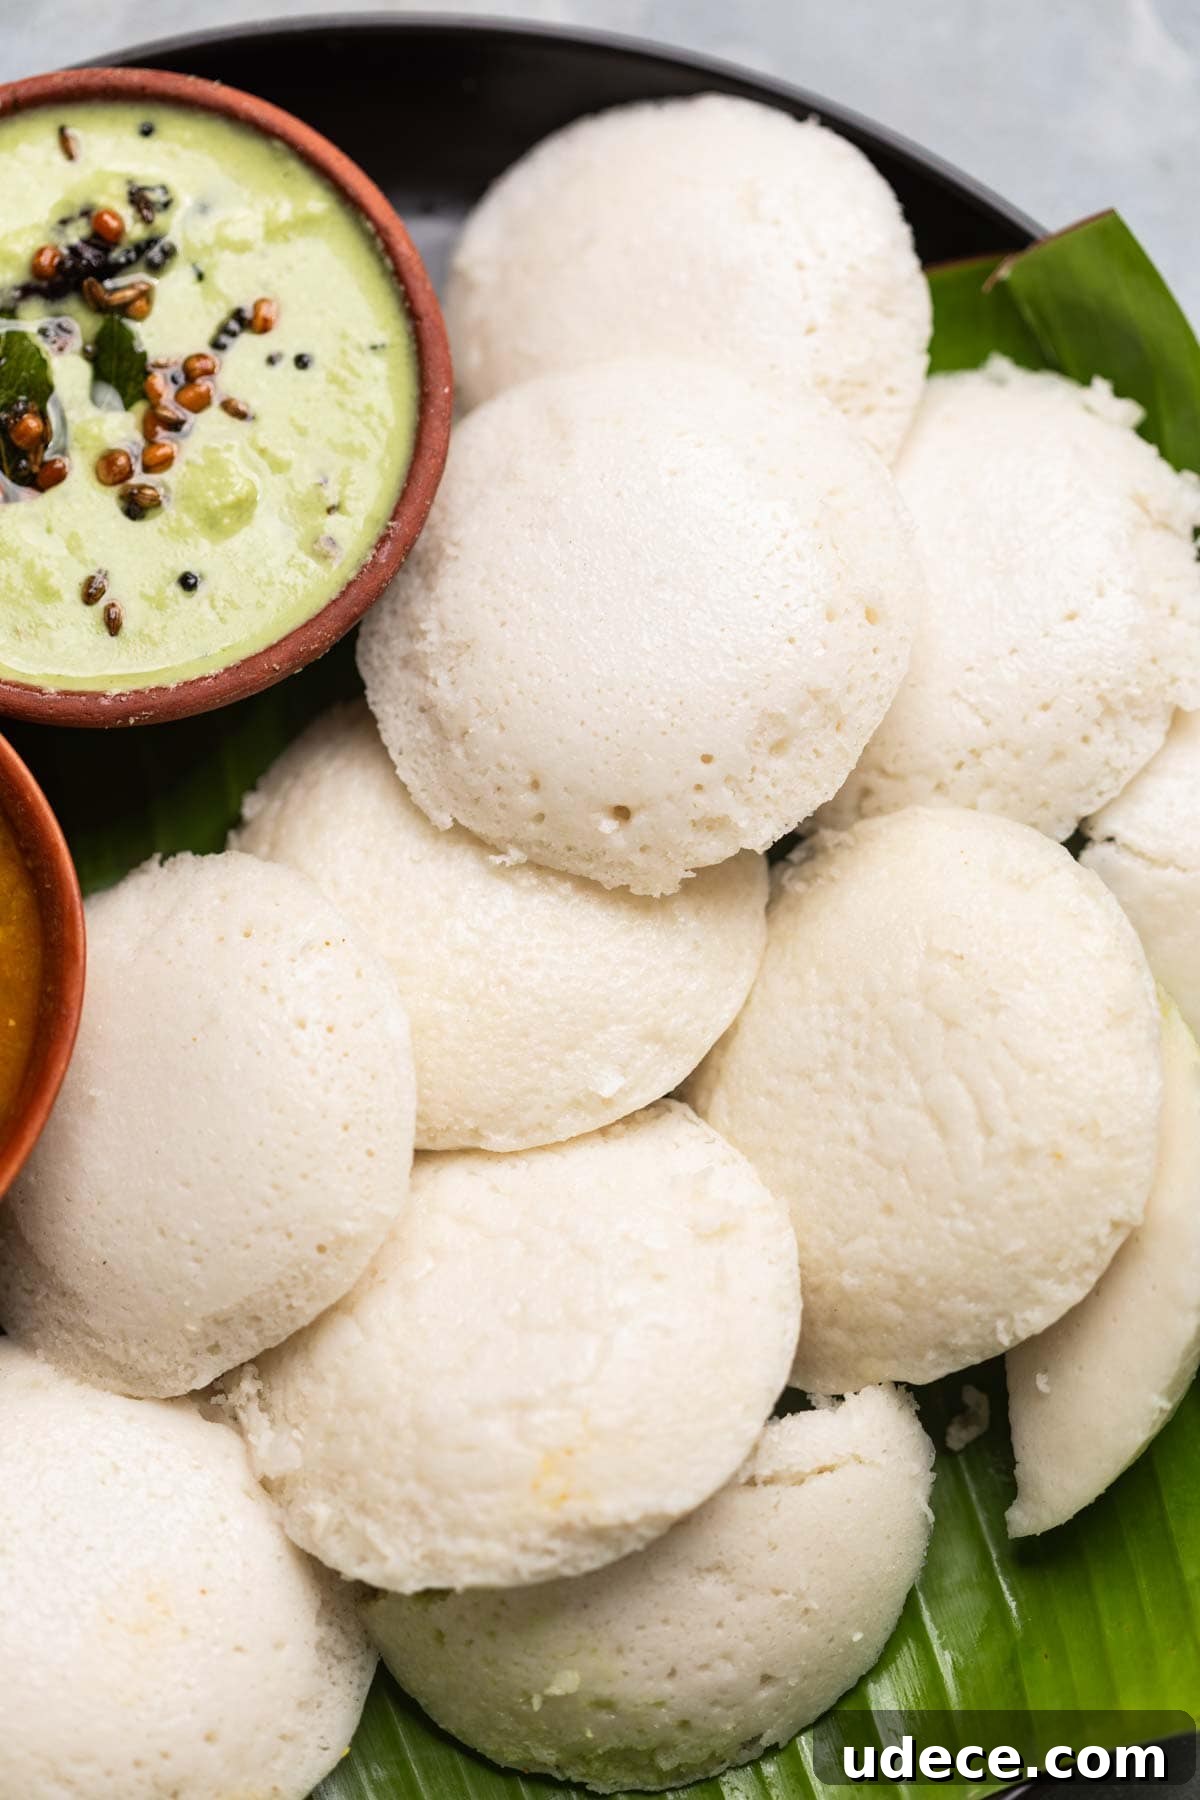
The secret to really soft, fluffy, melt-in-the-mouth idlis? It starts with the right batter and in this recipe I’ll show you exactly how.
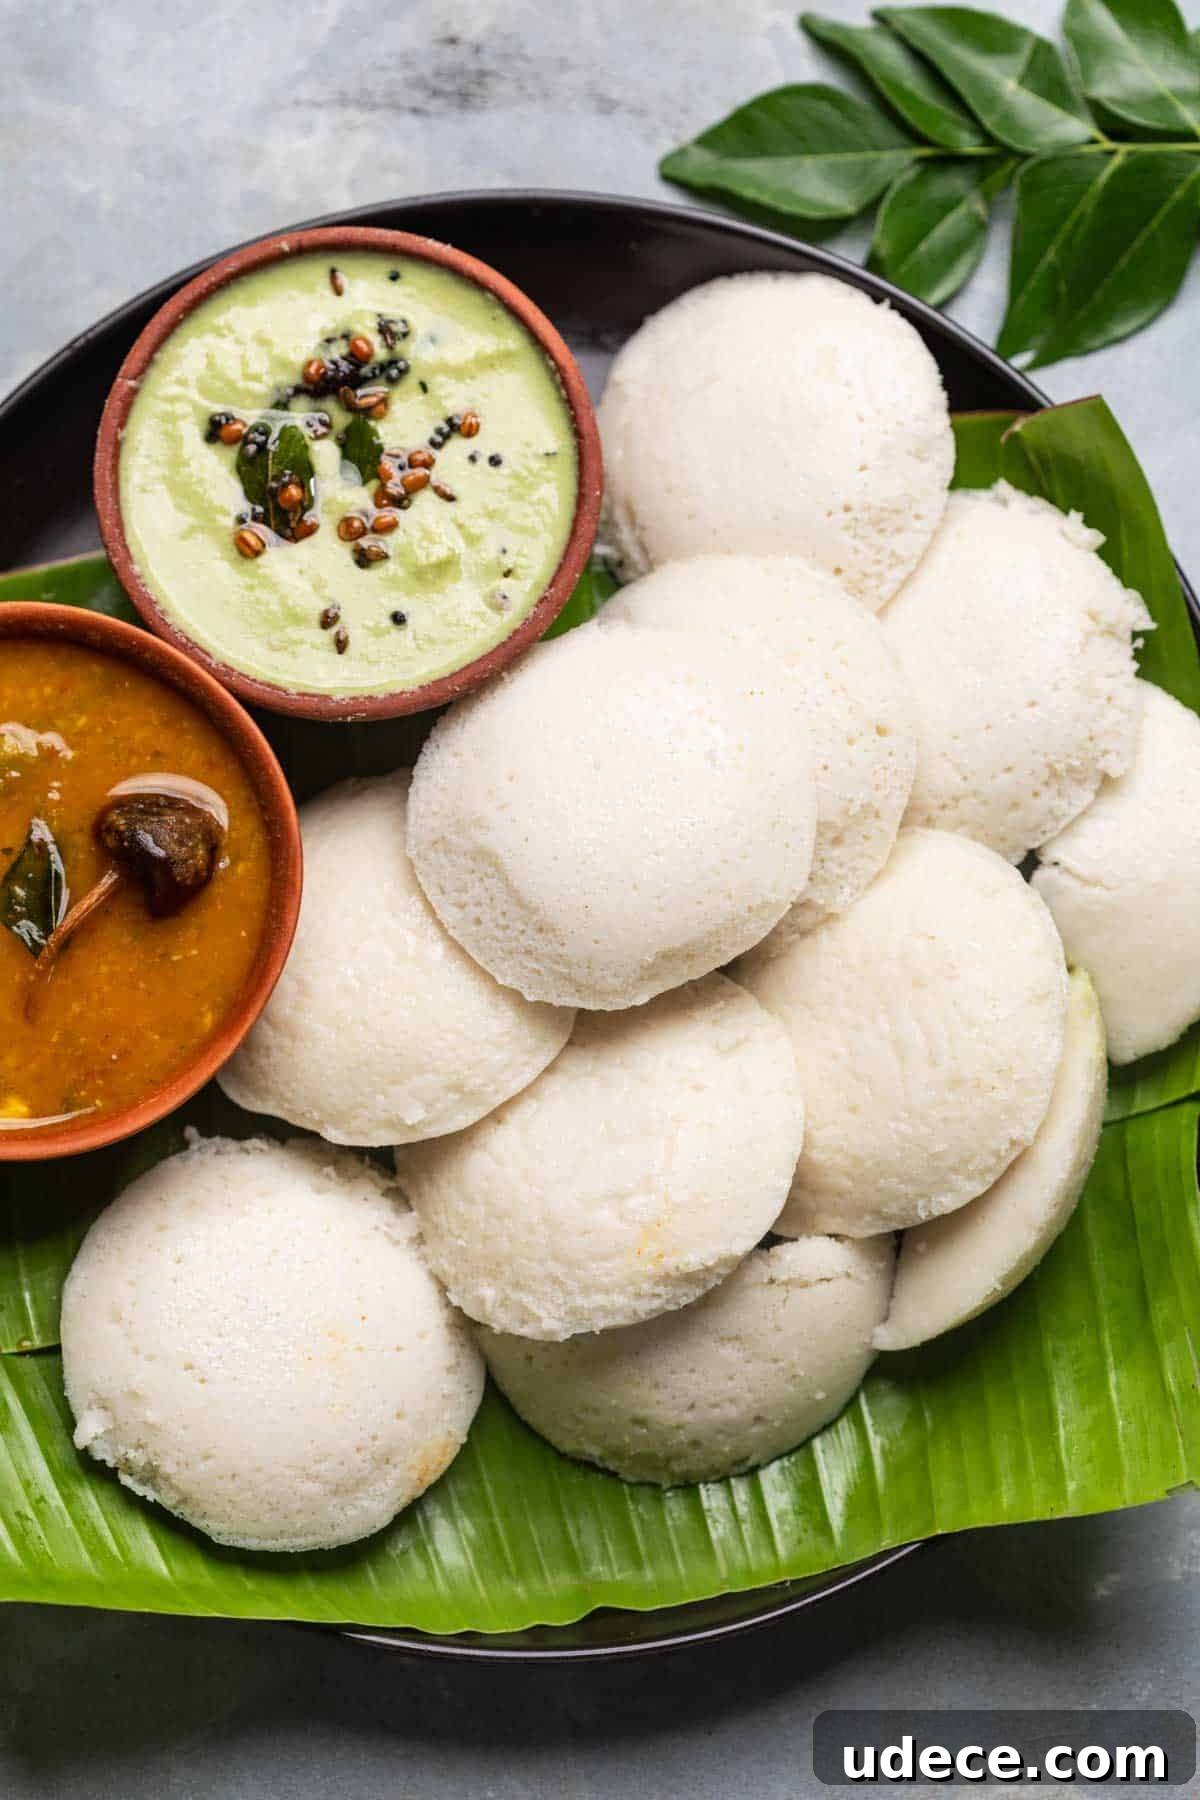
There’s something deeply comforting about a plate of warm idlis fresh from the steamer. They are light, airy, naturally gluten-free and perfect for soaking up sambar and chutneys. Over the years I’ve tested many approaches; this method has become my most reliable because it is straightforward and consistently produces soft, fluffy idlis.
This recipe uses a homemade idli-dosa batter that transforms the texture and gives the idlis a subtle, pleasant tang. The instructions below cover ingredients, step-by-step preparation, tips for fermentation and steaming, and storage and serving ideas so you get the best possible results every time.
Jump to section: Idli Recipe
- Idli Ingredients
- How to make Idlis
- Top Tips for the Softest Idlis
- Frequently Asked Questions
- Storage Tips
- Serving Ideas
- Customisation Ideas
- Did You Know?
- Watch Idli Recipe Video
Idli Ingredients
For the idli batter:
- Idli rice – The base of the batter; gives idlis their classic texture.
- Urad dal (skinned black gram) – Adds softness and helps fermentation.
- Poha (flattened rice) – Makes the idlis extra fluffy.
- Cooked rice – Added during grinding to make the idlis softer.
- Fenugreek seeds (methi) – Aids fermentation and adds a subtle earthy note.
- Cold water – Keeps the batter cool while grinding and protects the grinder motor.
- Salt – Added after fermentation to season the batter.
For steaming:
- Oil or ghee – For greasing idli moulds to prevent sticking and to add aroma.
How to make Idlis
- Soak the grains: Rinse and soak idli rice, urad dal, poha and methi seeds for about 8 hours or overnight in plenty of water.
- Grind the batter: Drain the soaking water. Grind the rice, dal and cooked rice to a smooth but slightly thick batter using cold water and a few ice cubes if needed. The batter should coat the back of a spoon and fall in ribbons when poured; a very slight grittiness between the fingers is fine.
- Ferment: Transfer the batter to a large bowl, mix well with clean hands, cover and leave in a warm place for 12–24 hours until it rises to about 1.5 times its original volume and becomes slightly sour and bubbly.
- Prepare to steam: Once fermented, take the portion you will steam, add salt (about 1/2 teaspoon for 2 cups of batter), and mix gently. Grease idli plates with oil or ghee and bring water to a roaring boil in the steamer.
- Steam: Fill the idli moulds nearly to the top and steam on high for about 10 minutes. To check doneness, insert a toothpick into the centre of an idli; it should come out clean.
- Rest and demould: After steaming let the mould rest in the steamer for 2 minutes, then remove and cool for another 2–3 minutes before gently demoulding with a spoon or knife.
Top Tips for the Softest Idlis
- Fermentation matters most: A light, airy and slightly tangy batter is the key to soft idlis. In cool weather place the batter in a warm area like an oven with the light on or warm it slightly and then let it ferment.
- Keep the batter cool while grinding: Use cold water and a few ice cubes to prevent overheating; this helps the texture and protects the grinder.
- Grease moulds lightly: A thin coating of oil or ghee makes demoulding easy and adds fragrance.
- Avoid over-steaming: About 10 minutes is typically enough; overcooking dries idlis and makes them hard.
- Let them rest briefly: Allow steamed idlis to cool for a few minutes before removing; they will come out cleanly and retain softness.
Frequently Asked Questions
Idli is a soft, steamed rice cake made from a fermented batter of rice and urad dal. It is a staple South Indian breakfast often served with chutney and sambar.
A well-fermented, aerated batter is essential. Adding poha and fenugreek seeds improves texture, and using the right rice-to-dal ratio helps too.
Thick but pourable—enough to coat a spoon and fall in ribbons, not watery.
Fermentation needs warmth and time. In cold weather keep the batter in a warm spot. Also check that your urad dal is fresh.
Short-grain rice like sona masoori can work, but idli rice usually produces the best texture because of its starch content.
Under-fermentation, incorrect rice-to-dal ratios or over-steaming are common causes. Ensure proper fermentation and steam for the right time.
Yes. Fermentation increases nutrient availability and adds beneficial microbes, making idlis a nutritious choice.
Steam for about 10 minutes on high once the steamer water is boiling. After steaming, rest the mould for a couple of minutes before removing the idlis.
Storage Tips
- Fridge: Store leftover idlis in an airtight container for up to 3 days. Re-steam for a couple of minutes before serving to restore softness.
- Freezer: Cool steamed idlis completely, freeze on a tray and then transfer to a bag. Reheat from frozen by steaming for 5–7 minutes; they keep well for 2–3 months.
- Batter: Unsalted fermented batter will keep in the fridge for up to 3 days. If it becomes quite sour, use it for dosas or uttapams instead of steaming.
Serving Ideas
Idlis are delightful on their own but pair exceptionally well with classic South Indian sides:
- Hot, tangy sambar that soaks into the idli for a comforting bite.
- Fresh coconut chutney for a cooling contrast and creaminess.
- Tomato chutney for those who prefer bold, spicy flavors.
- For a protein boost, serve with mixed vegetable korma or a lentil-based chutney.
- Leftover idlis can be pan-fried with spices for crispy idli fries — a tasty snack or fusion treat.
Customisation Ideas
- Rice swaps: If idli rice is unavailable, parboiled or short-grain rice can be used, though texture may vary slightly.
- Grain-free option: Replace some rice with millets such as ragi or jowar for a more nutritious batter.
- Flavour boosters: Stir in grated carrot, chopped coriander, or a tempering (tadka) of mustard seeds and curry leaves before steaming for extra flavor.
- Mini idlis: Use mini moulds to make bite-sized idlis — great for kids or as a party snack served with sambar or chutney.
Did You Know?
The word idli likely comes from Tamil roots related to placing and fermenting. Versions of steamed rice cakes have existed across the region for centuries. The idli as we recognize it appears in South Indian texts from many centuries ago and remains a beloved staple today.
Idlis offer simple comfort and versatility. Once you master the batter and fermentation, you’ll find they fit into breakfast, lunchboxes and quick dinners with equal ease. The steaming process is forgiving, and the payoff — pillowy, soft idlis — is worth the little bit of planning required.
If you make these at home, enjoy them with sambar, coconut chutney or your favorite podi. There’s something special about pulling hot, fluffy idlis out of the steamer and sharing them with family and friends.
Watch Idli Recipe Video
Idli | How to Make Idlis
Equipment
- 1 idli steamer stand
Ingredients
For idli batter
- 1½ cups idli rice or parboiled rice
- ½ cup skinned urad dal
- ¼ cup poha (flattened rice)
- ¼ cup cooked rice
- 1 teaspoon methi (fenugreek) seeds
- 1½ cups water (adjust as needed)
- 4–5 ice cubes (to keep batter cool while grinding)
For idlis
- 2 cups idli batter (fermented)
- ½ teaspoon salt
- 1 teaspoon oil or ghee for greasing
Instructions
For the idli batter
Day 1 – morning: Wash and soak the rice, urad dal, poha and methi seeds in enough water so the grains are well covered. Soak for about 8 hours or overnight.
Day 1 – evening: Drain the soaking water. Grind the rice-dal mix with cooked rice using approx. 1½ cups water and 4–5 ice cubes; add more water if needed. Aim for a smooth batter that still feels slightly grainy. Pour into a large bowl and mix the batter with clean hands to encourage fermentation.
Cover the bowl and leave in a warm, dry place away from direct sunlight to ferment for 12–24 hours until it has risen and is bubbly and slightly sour. Warmer conditions speed fermentation.
Making Idlis
- Take 2 cups of fermented batter, add ½ teaspoon salt and mix gently.
- Heat water in an idli steamer until it boils. Grease idli plates with oil or ghee.
- Fill the moulds with batter almost to the top and place in the steamer once the water is boiling.
- Steam on high for 10 minutes. Check with a toothpick; it should come out clean when idlis are done.
- Let the mould rest in the steamer for 2 minutes, then remove and cool for 2–3 minutes before demoulding.
Notes
- Ensure the batter is well fermented for light, airy idlis.
- Batter should be thick but pourable and fall in ribbons.
- Add salt only to the batter portion you are using to avoid over-souring the stored batter.
- Store unused unsalted batter in the fridge for up to 3 days or freeze for longer storage. Bring to room temperature before steaming.
- Grease idli moulds to make demoulding easier.
- Do not over-steam; idlis become dry if steamed too long.
- Allow idlis to cool slightly before demoulding so they come out cleanly.
- Leftover idlis refrigerate well for up to 3 days; re-steam briefly before serving.
- To freeze steamed idlis: cool, freeze on a tray, then transfer to a bag; reheat by steaming from frozen for 5–7 minutes.
This article was researched and written by Harita Odedra.